Capacitor
Design using CAD.
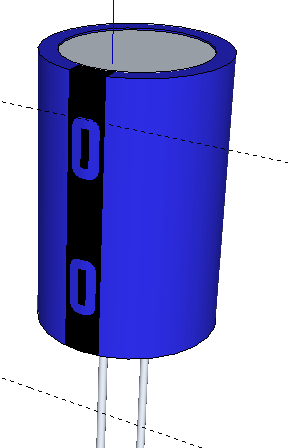
This tutorial is now complete. Please report any errors to Divinderjit Singh Chattrath
Designing Capacitor using Google SketchUp.
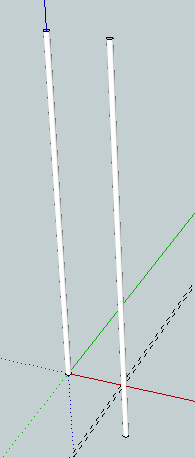
Start with making two wires 500 mm apart. Notice that the first circle was drawn at origin and a second circle was drawn 500 mm away from origin (on red axis) and then both of them were extruded upwards by a factor of 5000 mm. The circle that is away from origin was also extruded downwards by a factor of 500 mm.
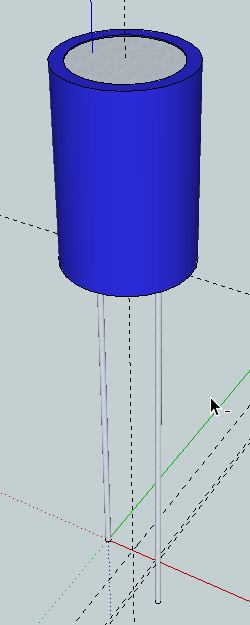
Using tape Measure, find the mid point between two circles. From this midpoint draw a circle of radius 500 mm. Again draw another circle of radius 450 mm from the midpoint. Extrude the inner circle upwards by a factor of 2000 mm. Now Extrude the area between the two circles (annulus) 50 mm down and 2050 mm upwards.
This is what you will get after rendering.

view from another angle.
Time to indicate that the shorter pin is negative. Lot of guiding to do using the tape measure. This you can design as you like it. Take your time!
Draw only after you have all guides in place
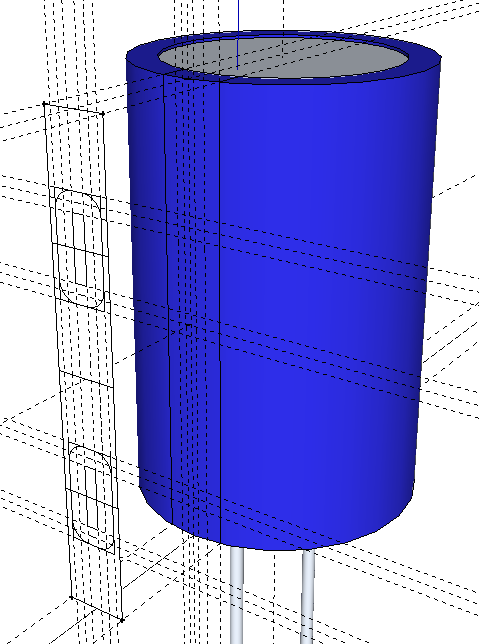
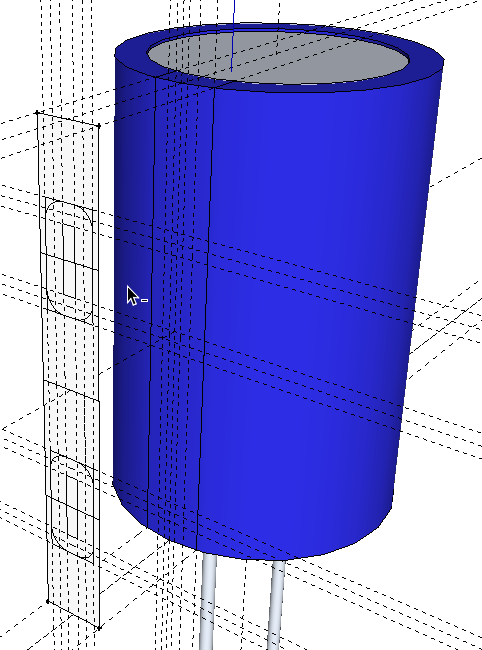
And render ..... and remove all guides.
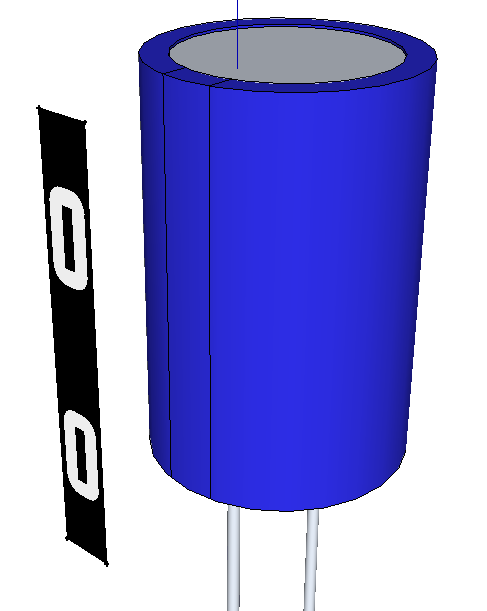
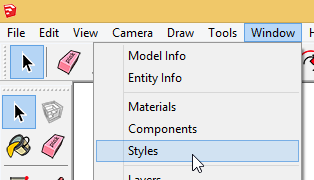
Now you have a 2D photo that you want to paste on the curved surface. You need to first save this photo as a jpeg image. For this copy the image in a new SketchUp file. Set the background as white by following the steps shown below using windows>styles
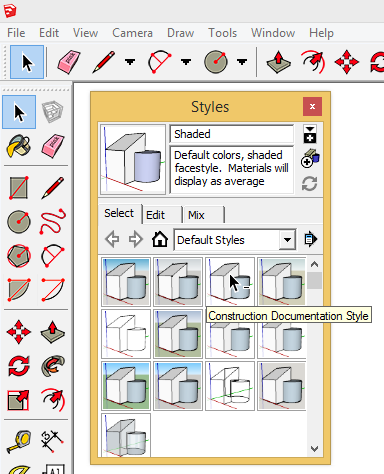
make sure to choose "Construction Documentation Style"
also make sure to choose Camera > Parallel Projection
also you may have to choose the left/front view to view the image from front.
After this you need to go File > Export > 2D image

Open the saved image in MS paint or any other photo editor. We just want to crop.
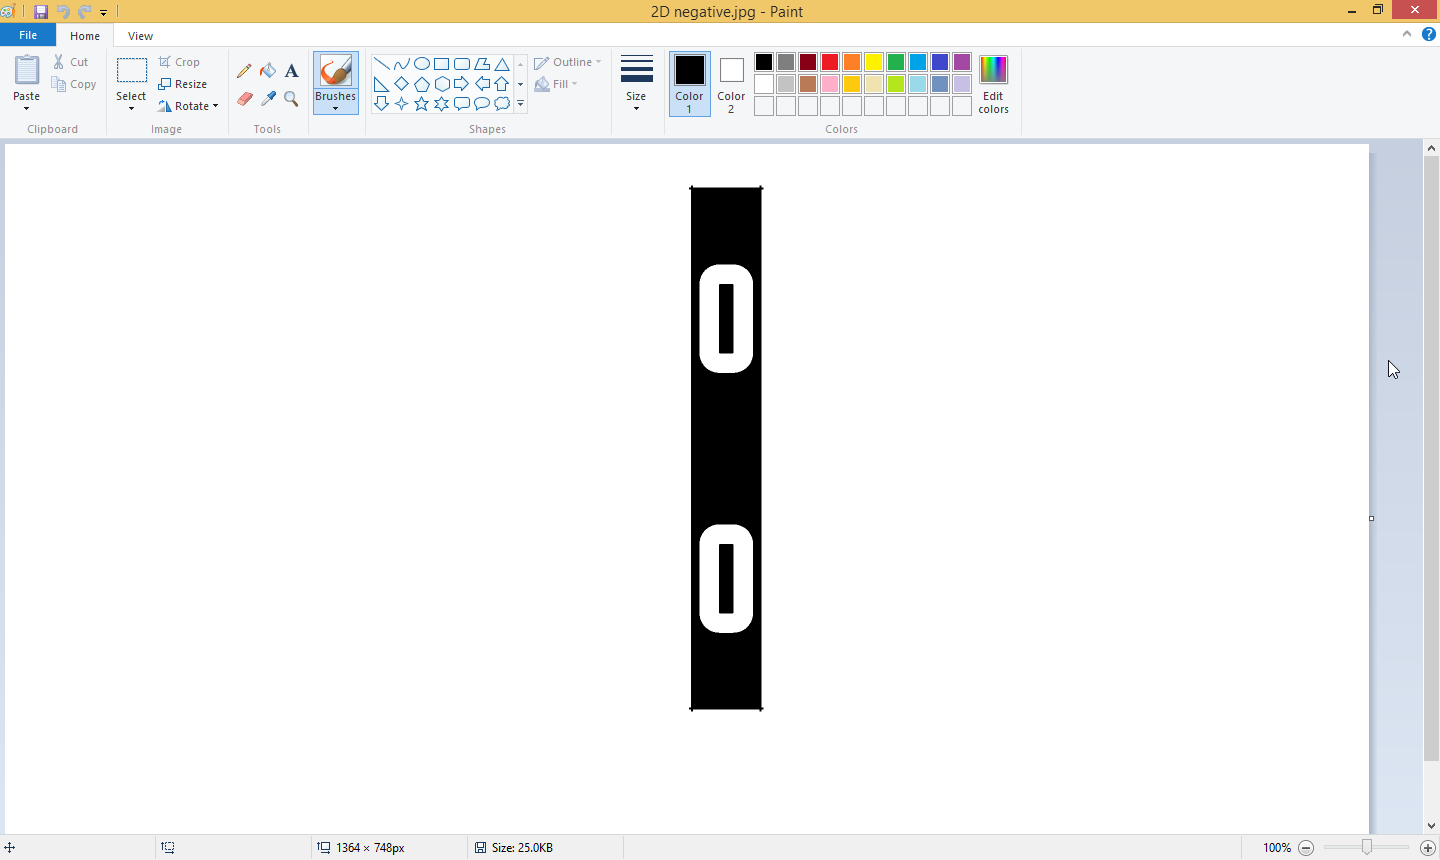
Crop so that you are left with the image you need and save it

Next we need to delete the 2D shape in our SketchUp file so that only the capacitor is left out.
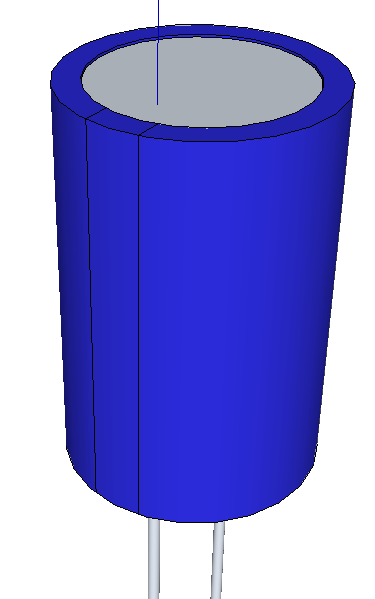
We will now use referencing method to draw a parallel plane to the curved area on which we want o paste the 2D image that we have saved in previous steps.
This is how it is done...
Hover on the bottom felt corner of the rectangle and without clicking move the mouse outwards. A dotted red line will show it is being dragged parallel to red axis.
Click after you have moved a fair distance as shown.
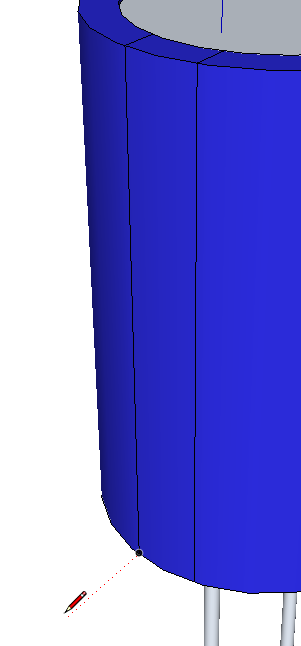
Now move the mouse to the lower right corner ...
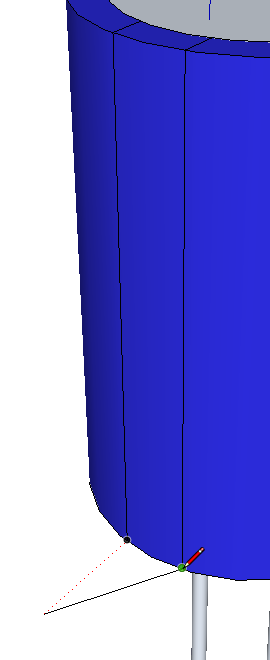
and without clicking again move it outwards so that a dotted red line shows the line on which it is dragged and also the green solid line is drawn...
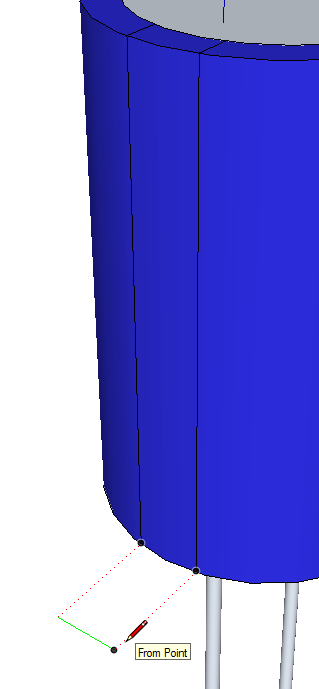
this is where you click to lock the green line in.

Now move to the top right corner
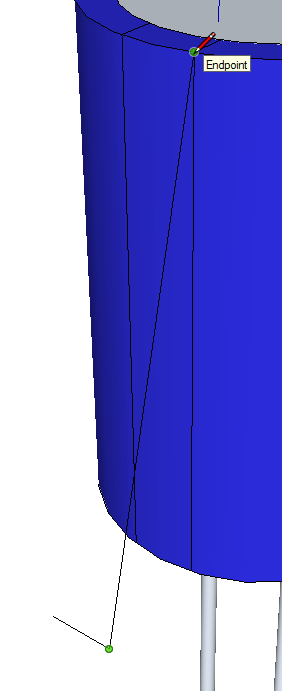
And move the mouse outward again to get the red dotted line and blue solid line...

This is where you click again to lock that line in

Now move the mouse to the top left corner
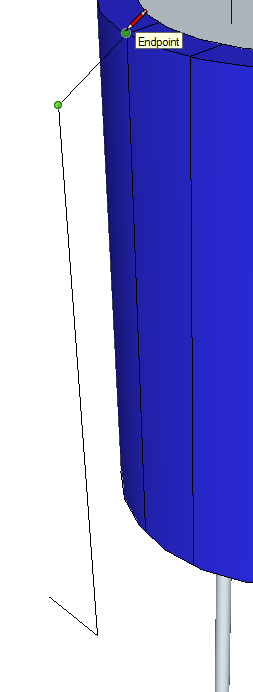
and move outwards to get the dotted red and solid green line.

Click to lock in that line

Last step to just close the figure.
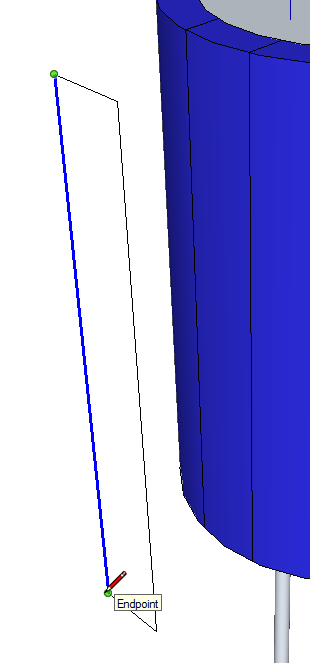
The important thing is that your 2D shape is lined up with the curved surface at this point.

Select this surface using the select tool
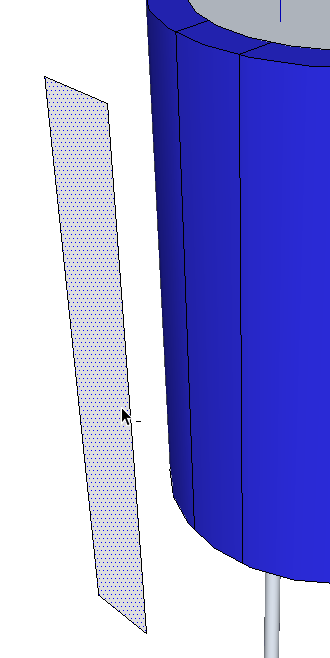
File > import

Fond the 2D image that you have save earlier. Make sure to click the radio button "Use as texture"

The image will lock with your cursor. Click on the lower left corner ...

And then click on the upper right corner
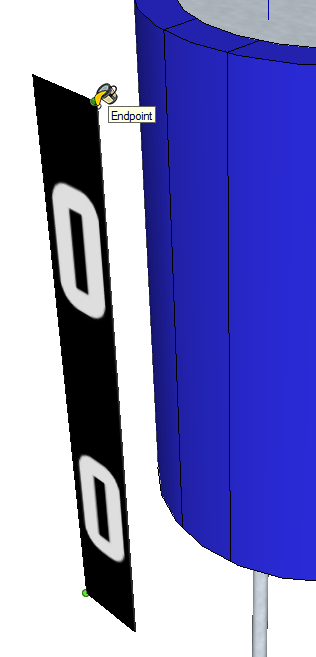
Right-click the textured face and choose Texture, Projected.
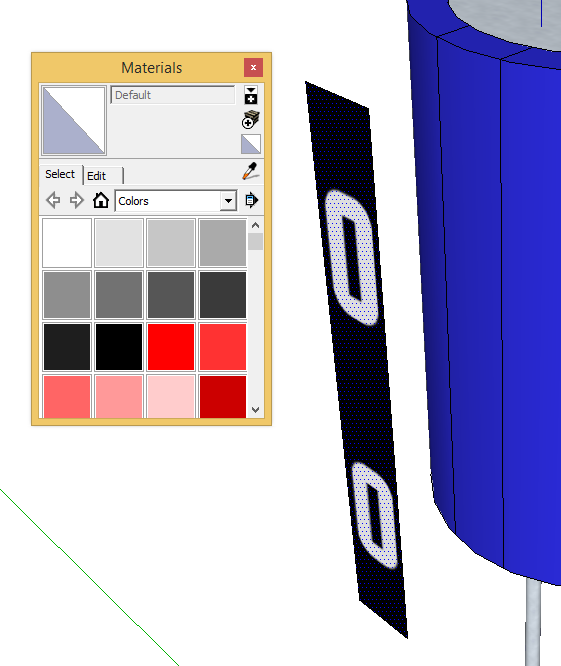
Choose the paint bucket tool. Hold down the Alt key and click on the image. This will sample the projected texture and you can see it in the Materials window. Now you are ready to paint it on the curved surface.

Click on the curved surface.
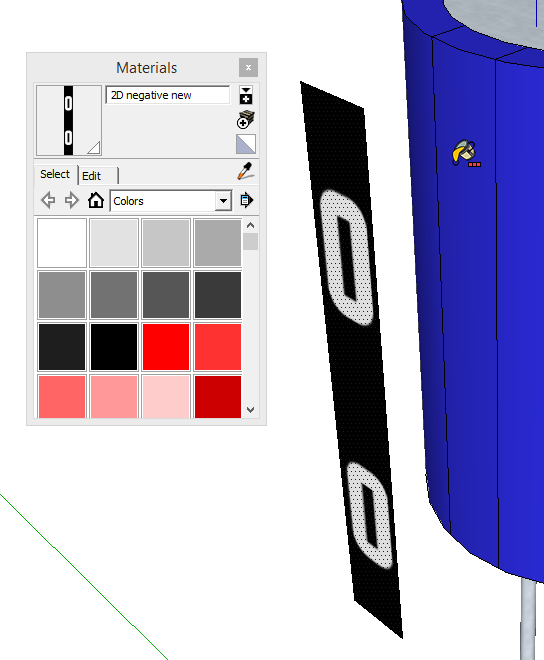
Delete the 2D image.

Finished product!
